在圣诞节来临之前,记录一下我的博客修改记录,虽然博客上线的时间只有短短的一年,但是却折腾了很多很多,从最初的一脸懵逼的搭建lamp环境,到现在的宝塔面板,从最初的wordpress到现在的typecho,中间真的是经历了很多。
程序记录:
wordpress-zblogphp-emlog-wordpress-hexo-typecho
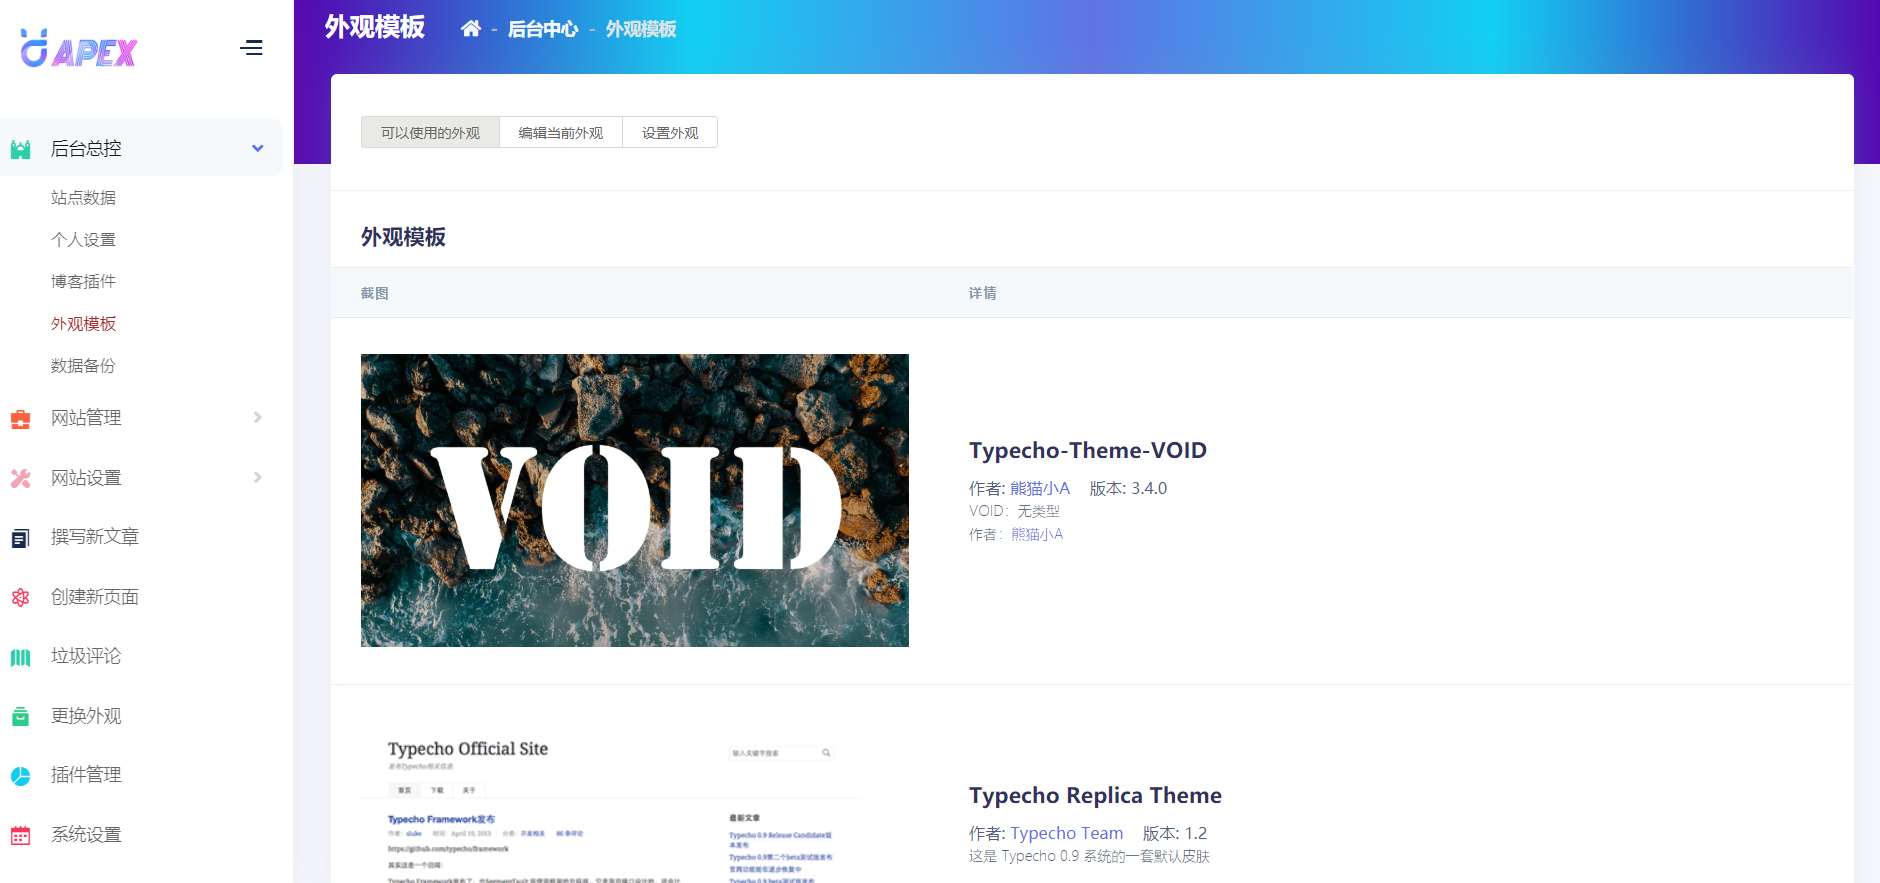
今天主要分享一下,在typecho下handsome主题的个性化修改以及配置,因为最近有很多朋友问我是怎么配置的。
准备
typecho
handsome6.0
一颗爱折腾的心
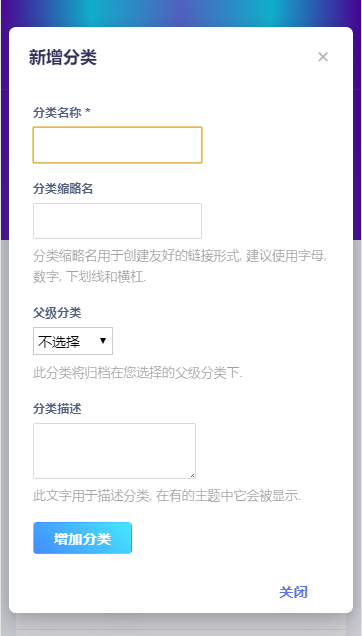
配置 时光机 首先新建一个页面,在地址栏输入cross,标题是可以随意起名字的。
然后在右侧的自定义模板中选择时光机
然后发布就算是创建成功了,然后在前台点击头像,发布第一条动态,刷新一下就ok了。
文档介绍:https://handsome.ihewro.com/#/rss
我的这个页面其实就是使用了rss订阅(rss是简易信息聚合,基于xml格式,发布rss后rss的内容可以被其他站点调用。)
关于rss,如果你不知道从哪里找到订阅源的话,其实已经有大神解决了这个问题,@diygod 的开源rsshub 提出了万物皆可rss的概念。你可以使用rsshub提供的源进行订阅,也可以部署在自己服务器上面,当然你也可以参与rsshub为rsshub提供订阅源的支持。
主题文档:https://handsome.ihewro.com/#/rss
rsshub文档:https://docs.rsshub.app/
首先贴出我的配置
1
2
3
4
5
6
{"id":"bilibili_rss","name":"哔哩哔哩","url":"https://cors-anywhere.herokuapp.com/https://www.moerats.com/bilibili/rss/?id=21462274"}, {"id":"qdysj","name":"前端艺术家","url":"https://cors-anywhere.herokuapp.com/https://rsshub.app/jskou/0"}, {"id":"guanzhi","name":"每日一文","url":"https://cors-anywhere.herokuapp.com/https://rsshub.app/guanzhi"}, {"id":"zgdxmooc","name":"慕课","url":"https://cors-anywhere.herokuapp.com/https://rsshub.app/icourse163/newest"}, {"id":"juejin","name":"掘金","url":"https://cors-anywhere.herokuapp.com/https://rsshub.app/juejin/category/frontend"}, {"id" :"bilibili_zf" ,"name" :"追番" ,"url" :"https://cors-anywhere.herokuapp.com/https://rsshub.app/bilibili/user/bangumi/21462274" }
如果你觉得这个样子看着特别乱的话,我以哔哩哔哩的追番为例
1 {"id" :"bilibili_zf" ,"name" :"追番" ,"url" :"https://cors-anywhere.herokuapp.com/https://rsshub.app/bilibili/user/bangumi/21462274" }
换一种方式呈现,这样就清晰明了
1
2
3
4
{ "id" :"bilibili_zf" , "name" :"追番" ," url" :"https://cors-anywhere.herokuapp.com/https://rsshub.app/bilibili/user/bangumi/21462274" }
id:唯一值,你可以自定义,只要不和其他冲突就行
name:在时光机页面显示的名称,例如这个就会显示【追番这两个字】
url:订阅的rss源链接,这里使用了rsshub的支持,感谢rsshub。
还是以追番列表为例,我们在rsshub的文档处找到哔哩哔哩的源
1
2
3
4
5
6
7
8
9
用户追番列表 作者: @wdssmq 举例: https://rsshub.app/bilibili/user/bangumi/208259 路由: /bilibili/user/bangumi/:uid 参数: uid, 必选 - 用户 id
我们只要把https://rsshub.app/bilibili/user/bangumi/208259这个链接复制出来,将后面的208259更换为自己的uid就可以了
假如我们的哔哩哔哩账号uid就是208259,接下来在时光机配置里应该这样填写
1
2
3
4
5
6
7
{ "id" :"bilibili_zf" , "name" :"追番" , "url" :"https://rsshub.app/bilibili/user/bangumi/208259" } 将换行删掉就是: {"id" :"bilibili_zf" ,"name" :"追番" ,"url" :"https://rsshub.app/bilibili/user/bangumi/208259" }
填入保存,然后刷新时光机页面,如果出现获取失败,那就是跨域的问题了,参考作者文档,在订阅源前加上https://cors-anywhere.herokuapp.com/即可
1
2
3
4
5
6
7
{ "id" :"bilibili_zf" , "name" :"追番" , "url" :"https://cors-anywhere.herokuapp.com/https://rsshub.app/bilibili/user/bangumi/208259" } 将换行删掉就是: {"id" :"bilibili_zf" ,"name" :"追番" ,"url" :"https://cors-anywhere.herokuapp.com/https://rsshub.app/bilibili/user/bangumi/208259" }
然后就大功告成了。
时光机页面允许发送图片,音频和视频 时光机的动态页原理是基于评论的,所以每次发的动态其实就是在时光机页面下的评论。需要在 后台-设置-评论设置下的允许使用的HTML标签和属性一栏填入以下代码:
1 2 3 <img src ="" > <audio class ="" src ="" preload > <video src ="" > </video >
导航栏 关于导航栏的配置,其实作者的文档不是特别的详细,所以很多人不知道如何进行图标的添加。
图标 使用文档:https://handsome.ihewro.com/#/icons
主题内置了四种图标库
iconfont fontello bootcss自带的Glyphicons feather
前三种的方法都是class,而第四种feather的用法稍微有一点不一样
iconfont和fotello只支持主题文档中列出的图标,而Glyphicons和feather则支持的比较多。
前三种的用法:
1
2
3
4
5
6
7
8
iconfont: {"name":"图床","class":"icon-kinds","link":"https://kaygb.top/image-cdn.html","target":"_self"}, fontello: {"name":"图床","class":"fontello fontello-picture","link":"https://kaygb.top/image-cdn.html","target":"_self"}, glyphicon: {"name":"监控","class":"glyphicon glyphicon-record","link":"https://kaygb.top/monitor.html","target":"_self"},
而feather图标则不同,上面的第二个属性为class,而feather替换了class属性
1 {"name":"云盘","feather":"hard-drive","link":"https://kaygb.top/kaygb-cloud.html","target":"_self"},
内嵌页面 也有朋友问我的内嵌页面是如何实现的
其实很简单,用来html的iframe标签
1
2
3
4
[button color="success" icon="glyphicon glyphicon-eur" url="这里是点击跳转独立标签页的链接地址"]独立页面访问[/button] <iframe src ="这里是内嵌的网页链接的地址" frameborder ="0" width ="100%" scrolling ="yes" height ="1000" leftmargin ="0" topmargin ="0" > </iframe >
贴一下我其中一个页面:
1
2
3
4
[button color="success" icon="glyphicon glyphicon-eur" url="https://cloud.kaygb.top/"]独立页面访问[/button] <iframe src ="https://cloud.kaygb.top/Login" frameborder ="0" width ="100%" scrolling ="yes" height ="1000" leftmargin ="0" topmargin ="0" > </iframe >
使用方法 新建页面,名称随意,地址随意
然后内容填入上方代码,填入内嵌链接的地址,如果想在侧边栏中的页面分类中隐藏,只需在右边自定义模板下面的高级选项选择隐藏。
我使用的图床和网盘程序 图床使用的是: Lsky Pro
云盘使用的是: Cloudreve
网站背景漂浮的彩带 参考以下文章
[post cid=”64” /]
网站点击烟花效果 [post cid=”130” cover=”https://cdn.jsdelivr.net/gh/kaygb/blog-images/img/20200212120155.png”/]
浏览器动态标题 参考以下文章
[post cid=”70” /]
在主题设置-开发者设置的自定义输出body 尾部的HTML代码填入以下代码
1 2 3 4 5 6 7 8 9 10 11 12 13 14 15 16 17 18 19 <script > var OriginTitle = document .title; var titleTime; document .addEventListener('visibilitychange' , function ( if (document .hidden) { $('[rel="icon"]' ).attr('href' , "//file.kaygb.top/static_image/tx.png" ); document .title = 'ヽ(●-`Д´-)ノ别走啊!' ; clearTimeout(titleTime); } else { $('[rel="icon"]' ).attr('href' , "//file.kaygb.top/static_image/tx.png" ); document .title = 'ヾ(Ő∀Ő3)ノ想我啦!' + OriginTitle; titleTime = setTimeout(function () document .title = OriginTitle; }, 2000); } }); </script >
QQ社交卡片分享 1 2 3 4 5 6 7 8 9 10 11 12 13 <!-- QQCard BEGIN --> <meta itemprop="name" content="<?php Content::echoTitle($this,$this->options->title,$this->_currentPage); ?>" > <?php if ($this ->is('index' )): ?> <meta itemprop="image" content="/favicon.png" > <meta name="description" itemprop="description" content="<?php $this->options->description(); ?>" > <?php elseif ($this ->is('post' )): ?> <meta itemprop="image" content="<?php echo Content::returnHeaderImgSrc($this,'post',0,true); ?>" > <meta name="description" itemprop="description" content="<?php echo Content::excerpt(trim($this->fields->customSummary)!=''?$this->fields->customSummary:$this->excerpt,200); ?>" > <?php else : ?> <meta itemprop="image" content="/favicon.png" > <meta name="description" itemprop="description" content="<?php $this->options->description(); ?>" > <?php endif ; ?> <!-- QQCard END -->
最后 很多内容可能暂时没有记起来,各位有需要或是内容有错误的都可以在下方给我评论,万分感谢!(部分内容稍后补充)